How to Install Steel Roofing
- Jayant Upadhyay
- Apr 7
- 6 min read


Steel roofing is a durable and long-lasting option for your home or commercial building. With its resilience against harsh weather conditions and its energy-efficient properties, steel roofing has become a popular choice for many homeowners and builders. In this guide, we'll walk you through the steps on how to install steel roofing, ensuring a smooth and successful installation process.
Why Choose Steel Roofing?

Before diving into the installation process, let's discuss why steel roofing might be the best choice for you.
Durability and Longevity
Steel roofs are known for their unmatched strength and resilience. They stand up to severe weather conditions, including heavy rain, snow, and powerful winds. This strength means fewer repairs over the years compared to traditional roofing materials. Unlike asphalt shingles, steel is not prone to cracking, warping, or other damage caused by time and weather. A properly installed steel roof can last anywhere from 40 to 70 years, offering peace of mind and a cost-effective solution. Over time, the initial investment in steel roofing pays off, as maintenance costs are considerably lower compared to other options.
Energy Efficiency
One of the standout features of steel roofing is its ability to reflect solar radiant heat. This reflective property significantly reduces cooling costs by up to 25% during the hot summer months. By keeping your home cooler, steel roofing minimizes the workload on your air conditioning system, leading to reduced energy consumption and lower electricity bills. The energy efficiency of steel roofing also contributes to a more comfortable indoor environment, particularly in homes located in hot climates. In addition, many steel roofing systems can be coated with reflective coatings to enhance these energy-saving properties, further boosting their efficiency.
Environmental Impact
Steel roofing is an environmentally responsible choice for several reasons. The material is 100% recyclable, meaning that it can be reused or repurposed at the end of its life cycle instead of contributing to landfill waste. This recyclability helps reduce the environmental impact of roofing materials considerably. Moreover, the production of steel roofing panels has become increasingly sustainable, with many manufacturers using recycled materials in their production processes. By choosing steel roofing, you are supporting a circular economy and reducing the environmental footprint of your home. This commitment to sustainability is a key factor for many homeowners when selecting roofing materials.
Preparing for Installation

Preparation is key to a successful steel roof installation. Here are the steps to prepare your roof and gather the necessary tools and materials.
Gather Your Materials and Tools
Before beginning the installation process, it's essential to gather all necessary materials and tools to ensure a seamless workflow. Here's a comprehensive checklist to guide you:
Steel roofing panels: Choose panels that suit your aesthetic and functional needs.
Metal screws: Essential for securing the panels to the roof structure.
Metal roof sealant: Provides waterproofing and prevents leaks.
Measuring tape and chalk line: For precise measurements and alignment.
Hammer and drill with a screwdriver bit: Necessary for fastening and adjustments.
Metal snips: For cutting and trimming panels to fit.
Safety gear: Includes gloves, goggles, and a harness to ensure safety while working at heights.
Assemble these tools in an accessible location to facilitate a smooth installation process.
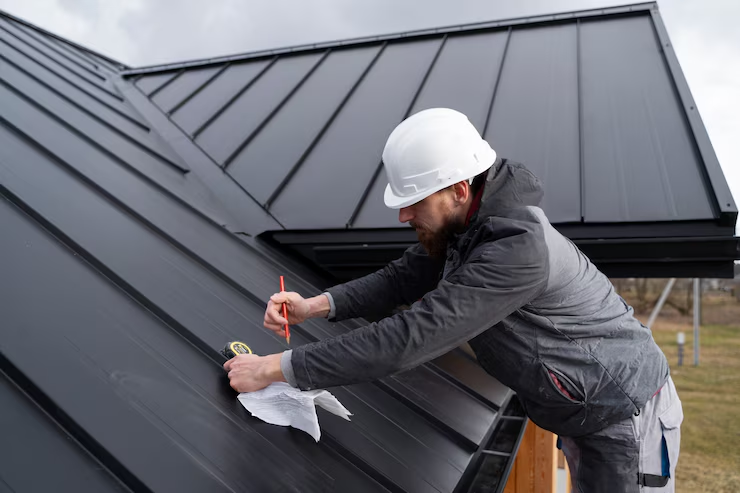
Measure Your Roof
Accurate measurements are the foundation of a successful roofing project. Begin by measuring the length and width of each section of your roof to calculate the number of steel panels required. Consider any overhangs or architectural features that might affect the panel layout. It's advisable to double-check all measurements to prevent errors that could lead to material shortages or misalignments. Using a chalk line, mark reference points on the roof to guide the installation and ensure that all panels are aligned correctly. Precision in this step will save time and prevent costly mistakes during installation.
Remove Old Roofing Material
To ensure a stable and long-lasting installation, remove any existing roofing materials such as shingles or tiles. This step is crucial for achieving a smooth and even surface upon which the new steel roof will be laid. Carefully strip away old materials, taking care to remove nails, staples, or other fasteners that could interfere with the new installation. This preparation step not only facilitates a more efficient installation process but also contributes to the longevity and performance of your new steel roof. A clean surface ensures that the underlayment and panels adhere properly without obstructions.
Installing Steel Roofing

Now that you're prepared, let's walk through the steps to install your steel roofing.
Step 1: Install the Underlayment
The underlayment is a crucial protective layer that goes between your roof deck and the steel panels. It serves several important functions, including providing insulation and protecting against moisture penetration. Begin by rolling out the underlayment across the entire roof surface. Secure it with nails or staples, ensuring that each row overlaps the previous one by a few inches for complete coverage. This overlap prevents moisture from seeping through and helps stabilize temperature fluctuations. By ensuring the underlayment is properly installed, you enhance the effectiveness and durability of your steel roof.
Step 2: Install Drip Edge and Flashing
The installation of a drip edge is essential for directing water away from the roof structure, preventing it from seeping under the panels. Begin by securing the drip edge along the perimeter of your roof. Following this, install flashing around critical areas such as chimneys, vents, and skylights. Flashing is vital for protecting these features from water damage by directing water away and ensuring it flows safely off the roof. Properly installed flashing not only prevents leaks but also enhances the roof's overall weather resistance, providing an additional layer of protection against the elements.
Step 3: Lay the Steel Panels
Start at the bottom edge of the roof, laying the first steel panel so it slightly overhangs the edge. This overhang ensures water runoff and protects the underlying structure. Secure the panel with metal screws, placing them strategically in the ridges to prevent water penetration. As you continue, overlap each panel by a few inches to ensure watertight coverage and structural integrity. Use a chalk line to maintain alignment and uniformity across the roof surface. Trim excess material with metal snips to fit around obstacles or to finish the edges. This careful attention to detail ensures a professional finish and optimal performance.
Step 4: Secure the Ridge Cap
The ridge cap is the final piece of the installation puzzle, sealing the joint where the two roof sides meet. Proper installation of the ridge cap is crucial for preventing water from entering the roof structure. Secure the ridge cap with screws, ensuring it fits snugly over the top panels and aligns with the rest of the roof. This final step not only completes the aesthetic of the roof but also enhances its weatherproofing capabilities. A well-installed ridge cap ensures that your steel roof remains a robust barrier against the elements.
Finishing Touches
Once your steel roof is installed, there are a few final steps to ensure it's secure and ready to withstand the elements.
Inspect and Seal
Conduct a thorough inspection of your installation to ensure that all panels are securely fastened and correctly aligned. Pay special attention to seams and joints, where leaks are most likely to occur. Apply metal roof sealant to any exposed screws and seams to prevent water intrusion and enhance the roof's longevity. This sealant acts as a barrier against moisture, safeguarding the underlying structure and maintaining the roof's integrity. Regular inspection and maintenance will keep your steel roof performing optimally for years to come.
Clean Up
After completing the installation, remove any debris from the roof and surrounding area. This cleanup step is essential for ensuring that your new roof not only functions well but also looks its best. Clear away any stray materials, fasteners, and packaging to leave the site tidy and safe. Proper cleanup also prevents potential hazards and maintains the aesthetic appeal of your home or building. By taking the time to clean up thoroughly, you ensure that the final presentation of your steel roof installation is as impressive as its performance.
Safety Tips
Always wear appropriate safety gear, including gloves and goggles, when handling metal roofing materials. This gear protects against cuts and eye injuries from sharp edges and flying debris.
Use a harness and secure anchoring systems when working on steep or high roofs to prevent falls and injuries.
Be mindful of sharp edges on steel panels and tools to avoid injury. Handle materials with care and ensure that your work area is organized to minimize risks.
Conclusion
Installing steel roofing can be a rewarding project that improves the durability and efficiency of your home. By following these steps and taking the proper safety precautions, you can ensure a successful installation. Enjoy the benefits of your new steel roof for years to come! With its long-lasting performance, energy efficiency, and environmental benefits, a steel roof is a smart investment for any homeowner seeking a robust and sustainable roofing solution.


Comments