How to Fix Leaking Kitchen Sink Drain Pipe
- Jayant Upadhyay
- Mar 18, 2025
- 5 min read

Updated: Jul 9, 2025

Before you start the repair, it's important to understand what might be causing the leak. Leaks can occur due to several reasons, such as loose connections, worn-out washers, or cracked pipes. Identifying the cause of the leak will help you determine the best course of action.
Loose Connections
Over time, the connections between pipes can become loose due to regular use and water pressure. This is often exacerbated by vibrations from garbage disposals or other appliances. Loose connections may not seem like a big deal at first, but they can quickly lead to more significant leaks if not addressed. Regularly checking these connections can help you spot potential problems early.
Worn-out Washers or Seals
Washers and seals are integral components of your plumbing system that can degrade over time. These small parts are usually made of rubber or similar materials, which naturally wear out due to constant exposure to water and pressure. As they wear, they lose their ability to form a tight seal, resulting in leaks. Replacing these components regularly can prevent leaks.
Cracked Pipes
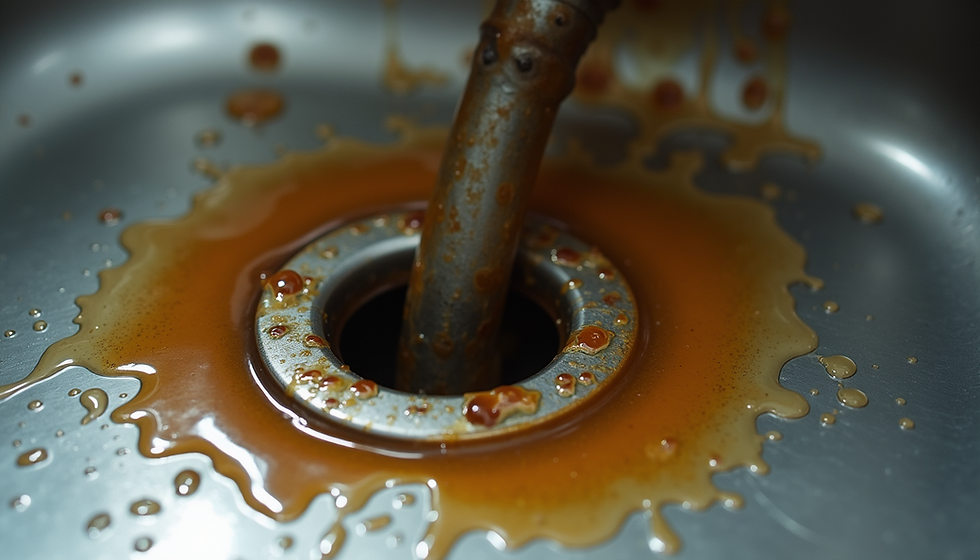
Pipes made from materials like PVC can crack due to age, impact, or temperature fluctuations. Cracks in pipes can be difficult to spot initially, but they can cause significant water damage if left unchecked. It's essential to regularly inspect your pipes for any signs of cracks, especially if your plumbing system is older. Early detection and replacement can save you from costly repairs.
Tools and Materials You'll Need
Having the right tools and materials on hand will make the repair process smoother. Here's a list of what you'll need:
Essential Tools
Adjustable Wrench: An adjustable wrench is vital for loosening and tightening pipe connections. Its versatility makes it suitable for various sizes of nuts and bolts.
Pipe Wrench: A pipe wrench provides more grip and torque for larger pipe fittings. It's an essential tool for plumbing tasks involving heavy-duty pipes.
Bucket or Container: Use this to catch any water that might spill during the repair process. This will prevent water damage to your cabinets and flooring.
Replacement Parts
Plumber's Tape (Teflon Tape): This helps create a watertight seal on threaded pipe joints. It's easy to use and prevents leaks at the connections.
Replacement Washers or Seals: Have these on hand to replace worn-out parts. Ensure they match the size and type of the old washers or seals.
Replacement Pipe (if necessary): If the pipe is cracked or severely damaged, you'll need a new section of pipe. Make sure it matches the existing pipe's material and diameter.
Additional Supplies
Old Rag or Sponge: Use these to dry off pipes and clean the area before starting repairs. A clean surface ensures better adhesion and sealing.
Pipe Cutter or Hacksaw: These tools are necessary if you need to remove and replace a section of pipe. They provide clean, straight cuts for a better fit.
Step-by-Step Guide to Fixing the Leak
Step 1: Identify the Source of the Leak
First, you need to locate where the leak is coming from. Dry off all the pipes under the sink with a rag or sponge. Then, fill the sink with water and let it drain while you observe the pipes. Look for any water escaping from the joints or along the pipe's length. Sometimes, the leak might be subtle, so take your time and inspect carefully.
Step 2: Tighten Connections
If the leak is coming from a joint, try tightening the connections with an adjustable wrench or pipe wrench. Be careful not to over-tighten, as this can cause damage to the fittings. Over-tightening may crack the fittings or strip the threads, leading to more significant issues. A snug fit is usually sufficient to stop leaks from loose connections.
Step 3: Replace Washers or Seals
If tightening the connections doesn't stop the leak, the washers or seals might be the culprits. Turn off the water supply and disassemble the leaking joint. Replace the old washer or seal with a new one and reassemble the joint. Use plumber's tape around the threads for a better seal. This will ensure that the new washer or seal fits perfectly and prevents further leaks.
Step 4: Inspect and Replace Damaged Pipes
If the leak is from a crack in the pipe, you'll need to replace the damaged section. Use a pipe cutter or hacksaw to remove the cracked portion of the pipe. Measure and cut a replacement piece from a new pipe, ensuring it matches the length and diameter of the original. Attach the new pipe using connectors and ensure all connections are secure. Double-check the alignment to prevent stress on the joints.
Step 5: Test the Repair
Once you've completed the repair, it's time to test your work. Turn the water supply back on and fill the sink. Let the water drain while checking for any signs of leakage. If there are no leaks, congratulations, you've successfully repaired your kitchen sink drain pipe! If you notice any leaks, reassess the connections and make necessary adjustments.
Preventing Future Leaks
Preventing future leaks can save you time and money. Here are a few tips:
Regular Inspections
Periodically check your pipes for signs of wear or damage. Look for rust, corrosion, or any signs of moisture. Regular inspections can help you catch potential problems early before they turn into significant leaks.
Proper Installation
Ensure all pipe connections are properly installed and secured. Misaligned pipes or improperly tightened fittings can lead to leaks. If you are unsure about installation, consider consulting a professional to ensure everything is fitted correctly.
Avoid Harsh Chemicals
Use natural drain cleaners to avoid damaging pipes with harsh chemicals. Chemical drain cleaners can corrode pipes over time, leading to leaks. Opt for enzymatic or homemade solutions that are gentler on your plumbing system.
Monitor Water Pressure
High water pressure can strain pipes and fittings, leading to leaks. Install a water pressure regulator if necessary and check your home's water pressure regularly. Keeping it within a safe range will extend the life of your plumbing system.
When to Call a Professional
While many leaks can be fixed with a DIY approach, there are times when it's best to call a professional plumber:
Persistent Leaks
If the leak persists despite your efforts, a professional can diagnose and fix the underlying issue. Persistent leaks may indicate more significant plumbing problems that require expert attention.
Extensive Pipe Replacement
If the pipes are old and require extensive replacement, professional plumbers have the tools and experience to handle large-scale repairs efficiently. They can ensure that your new plumbing is up to code and installed correctly.
Lack of Tools or Expertise
If you're unsure about the repair process or lack the necessary tools, a professional plumber can provide a thorough inspection and ensure your plumbing system is in top condition. Their expertise can save you time and prevent further damage.
Conclusion
Fixing a leaking kitchen sink drain pipe is a manageable task with the right tools and guidance. By following these steps, you can save money on plumbing repairs and maintain a functional kitchen. Remember to regularly inspect your pipes and address any issues promptly to prevent future leaks. If you're ever in doubt, don't hesitate to seek professional assistance. Keeping your plumbing in good working order is key to a well-functioning home. Regular maintenance and timely repairs will ensure your kitchen remains leak-free and efficient.


Comments